How to Choose the Right Automotive Vent Membrane?
Choosing the right Automotive Vent Membrane begins with the vehicle’s real operating environment, not a product brochure. Under a hood, pressure changes quickly. Rainwater, road salt, oil mist, dust, and engine heat may attack the vent from different directions. A membrane must release pressure while blocking liquid contamination. It must also remain stable during vibration, thermal cycling, and assembly.
Dr. Robert W. Gore, an ePTFE technology pioneer, once said, “The best solutions come from understanding the problem first.” That principle remains useful in automotive venting. Engineers should examine housing geometry, pressure equalization speed, water-entry resistance, airflow, adhesive compatibility, and expected service life. A vent that performs well in a clean laboratory may struggle beside a hot transmission or inside a wheel arch. Real testing matters.
Small details matter.
Check the membrane’s pore structure and material grade. Confirm its operating temperature range. Review data from salt spray, pressure cycling, dust exposure, and chemical contact tests. The mounting surface deserves equal attention. A perfect membrane can fail when the adhesive peels, the housing warps, or contamination reaches the seal.
There is no universal best choice. That answer sounds convenient, but it is incomplete. Cost, packaging space, production speed, and failure risk must be considered together. The wisest selection may require compromise. However, compromise should follow measured evidence, not guesswork. This guide explains how to compare Automotive Vent Membrane options with practical engineering judgment and dependable validation.
What Is an Automotive Vent Membrane and Why Does It Matter?
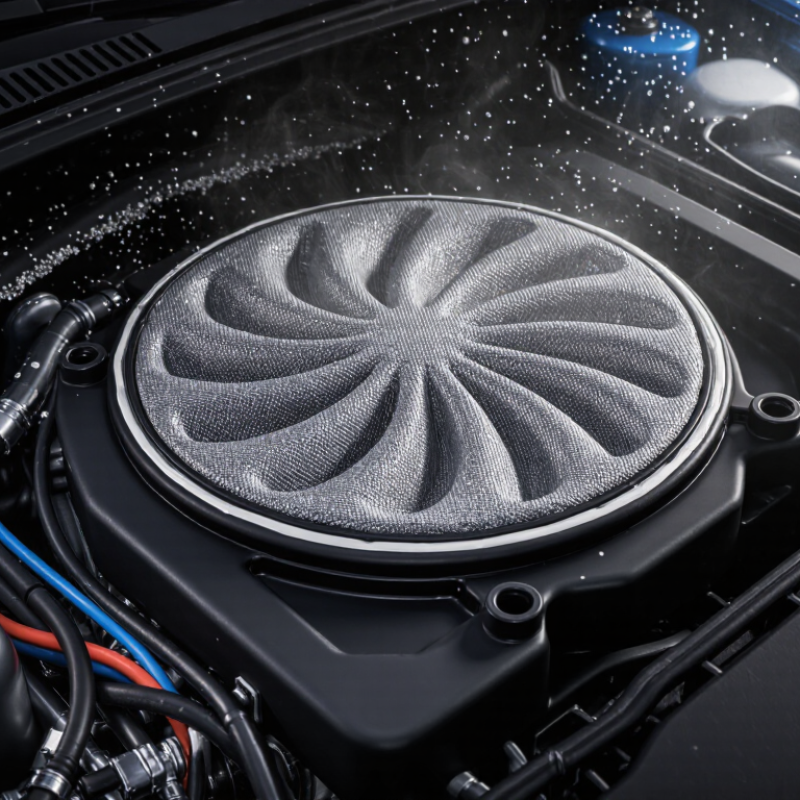
An automotive vent membrane is a thin, breathable barrier installed over a housing opening. It allows air and pressure to move through. At the same time, it blocks water, dust, and road contaminants. This balance protects enclosed components such as sensors, lights, batteries, and control modules.
Pressure changes happen when a vehicle heats up, cools down, or moves between elevations. Without a vent, pressure can push seals outward or pull moisture inward. A reliable membrane reduces this stress without creating a visible leak path. Its performance depends on pore structure, material, thickness, and surface treatment. Small detail. Poor adhesive contact can defeat a well-designed membrane.
Choosing the right type requires more than checking water resistance. Engineers should examine airflow, pressure equalization, oil exposure, temperature range, and expected vibration. The mounting surface also matters. A dusty or uneven surface may cause early failure. In testing, parts should face temperature cycling, spray exposure, pressure changes, and aging. These tests reveal weaknesses that laboratory samples may hide.
A common mistake is treating the membrane as a universal part. It is not. A vent designed for a dry interior may perform poorly near wheels or battery compartments. Field inspection should also check wrinkles, blocked pores, and damaged edges. Some decisions remain imperfect because real driving conditions vary. That uncertainty deserves honest testing, not optimistic assumptions.
How to Compare Membrane Materials, Structures, and Performance
How to Choose the Right Automotive Vent Membrane?
How to Compare Membrane Materials, Structures, and Performance
A vent membrane must release pressure while resisting water, dust, and road contaminants. Start with the housing and exposure: a wheel-arch module faces splash and grit, while a cabin sensor may need higher airflow at low pressure. Expanded PTFE offers a porous, hydrophobic structure; nonwoven laminates can add mechanical support. Neither material wins every application. That is the point.
Compare air permeability, water-entry pressure, pore structure, and oil resistance under the same test conditions. ISO 20653 describes vehicle enclosure protection levels; its IPX7 test involves immersion at one metre for up to 30 minutes. That rating helps define water exposure, but it does not predict airflow or long-term clogging. Ask suppliers for test methods, sample conditioning, and results after thermal cycling, not just a single headline value. Small details matter.
Structure changes performance, too. A large membrane area can reduce airflow resistance, but needs room and secure bonding. A protective layer may improve durability, yet restrict flow. SAE J1455 outlines environmental considerations for vehicle electronics, including temperature, humidity, and vibration; use these conditions to shape validation tests. Real assemblies still surprise you. A vent that passes a clean-lab test may collect dust around its edges. Check the seal, mounting orientation, and drainage path in the actual housing. I would not choose on material name alone.
How to Match Airflow, Pressure, and Waterproofing Requirements
A vent membrane must balance airflow, pressure equalization, and water resistance. Start with the enclosure’s real operating conditions, not a catalog number alone. Estimate the volume of trapped air, temperature swings, and pressure changes during cooling or altitude shifts. Then compare the membrane’s airflow rating at the stated test pressure. Test conditions matter. A rating measured with a large pressure difference may not reflect the gentle pressure changes inside a vehicle lamp or control unit.
Waterproofing requirements need equal care. Consider exposure to spray, road splash, and temporary immersion, as well as the direction and force of water impact. A membrane’s water-entry pressure should exceed the likely exposure, with a practical safety margin. At the same time, adding more protection can restrict airflow. That trade-off is easy to underestimate. A small vent may equalize pressure too slowly after a hot enclosure cools in rain.
Check the complete assembly, not just the membrane material. The opening size, adhesive bond, housing shape, and nearby surfaces can all affect performance. Dust, oil, or blocked drainage paths may reduce airflow over time. Validate samples in the actual enclosure using temperature cycling, pressure measurements, and water exposure that resembles service conditions. Results can be imperfect; real installations vary. That is a reason to document assumptions and retest when the design changes.
How to choose: Match airflow to the enclosure’s pressure-equalization needs, then verify water entry pressure against expected splash or immersion exposure. Values shown are representative design targets, not universal specifications; compare test conditions when reviewing actual membrane data.
What Installation and Quality Factors Affect Membrane Reliability?
A vent membrane can perform well on paper and still fail if installation is careless. The sealing surface must be clean, dry, and free of oil, dust, and molding residue. Even a fingerprint may weaken adhesion. Check that the housing is flat and has no sharp edges that could crease or puncture the membrane. Small details matter.
During assembly, use the specified placement and pressure. Uneven pressing can leave tiny gaps around the perimeter, allowing water or contaminants to bypass the membrane. Avoid stretching the material, and keep tools from touching its active area. A simple visual check helps, but it cannot reveal every defect. That is worth remembering. Where reliability is critical, use a suitable airflow or leak test on assembled parts, not just loose membrane samples. Test conditions should reflect expected temperature changes and exposure to moisture.
Quality control begins before installation. Confirm that membrane thickness, dimensions, and bonding surfaces are consistent across production batches. Look for folds, pinholes, loose edges, and contamination under good lighting. Record batch details and inspection results so recurring issues can be traced. No inspection is perfect. A rushed line may miss subtle damage, so periodic process reviews and operator training help catch problems early. Check samples after storage, too; adhesive performance can change if materials are exposed to heat, dust, or unsuitable humidity.